Build Your World
In this post, I’m going to describe exactly how I create an original, collaborative setting for a roleplaying game. If you’re not very interested in the why, skip ahead to get started!
Why Build a World Together?
A lot of folks start their GMing career by running modules or published adventures for more traditional systems (like D&D 3.5/5e), where the setting was consistent and self-contained, and their authority was total. The suggestion that we might somehow share the imaginary load with our players might therefore seem downright crazy. But fear not! As the GM, you will still be the final judge on what gets into the game setting, and what doesn’t. And more importantly, you get to let the players do your job for you; your mental bandwidth is thus freed up a bit. It will improve your improvisational skills, and you might even find yourself amazed at what your players come up with.
Why an Original Setting?
Over the past decade or so, there has been an absolute explosion of adventure modules and dungeon starters coming out of the indie RPG scene, as well as for old school and traditional systems. Most are free to download (or available for a very low-cost). Why not take advantage of the richness of others’ imaginations, and play in a consistent, ordered world? If this works for you: wonderful! Carry on. But if you’re anything like me, you take pure joy in trying to create something truly unique: a setting or world unlike anything you (or your players) have experienced before.
Furthermore, why limit ourselves to the imaginations of others? We should definitely take inspiration from what’s out there, sure - but let’s not limit ourselves to the worlds that others have built! If you (and your players) can create something truly your own, player investment and engagement will be higher. Plus, no more flipping around a setting book, searching for the backstory for that pesky NPC you didn’t prep for.
Personally, I find tropes and assumptions (particularly in fantasy gaming) act more as a sort of mental roadblock; limiting not only your imagination, but what is possible within the fiction as well. As a GM, I never name monsters when describing them, unless the players (or the player characters) are already familiar with them. For instance, if the PCs have encountered a group of short green-skinned creatures wielding missile weapons and displaying sharpened teeth, I do not tell the players, “Your party comes across a pack of Goblins.” If I name the creature, the players (and the GM) automatically assume what may or may not be possible within the fiction; it is very unlikely that the creatures will suddenly sport wings and fly way, for instance.
But if the description presented to the players is vague (within reason) as well as useful (perhaps hinting towards something that is about to happen), who knows what may occur? Are the players as likely to concoct a risky scheme if they believe the enemy is fulfilling the trope of a weak, cowardly creature? And if they do take that risk, is it not far more satisfying to reveal their hubris by upending those tropes?
Collaborative Worldbuilding
Tools of the Trade
- A blank sheet of paper. If measurements matter to you, get hex or grid paper.
- You can also use index cards instead of paper. See below.
- If it helps, printed visual aids of various landscapes and terrains.
- Pencils & erasers. Pens and markers are probably a bad idea.
- You can also use a wet-erase board or mat; just don’t forget to take a picture before cleaning!
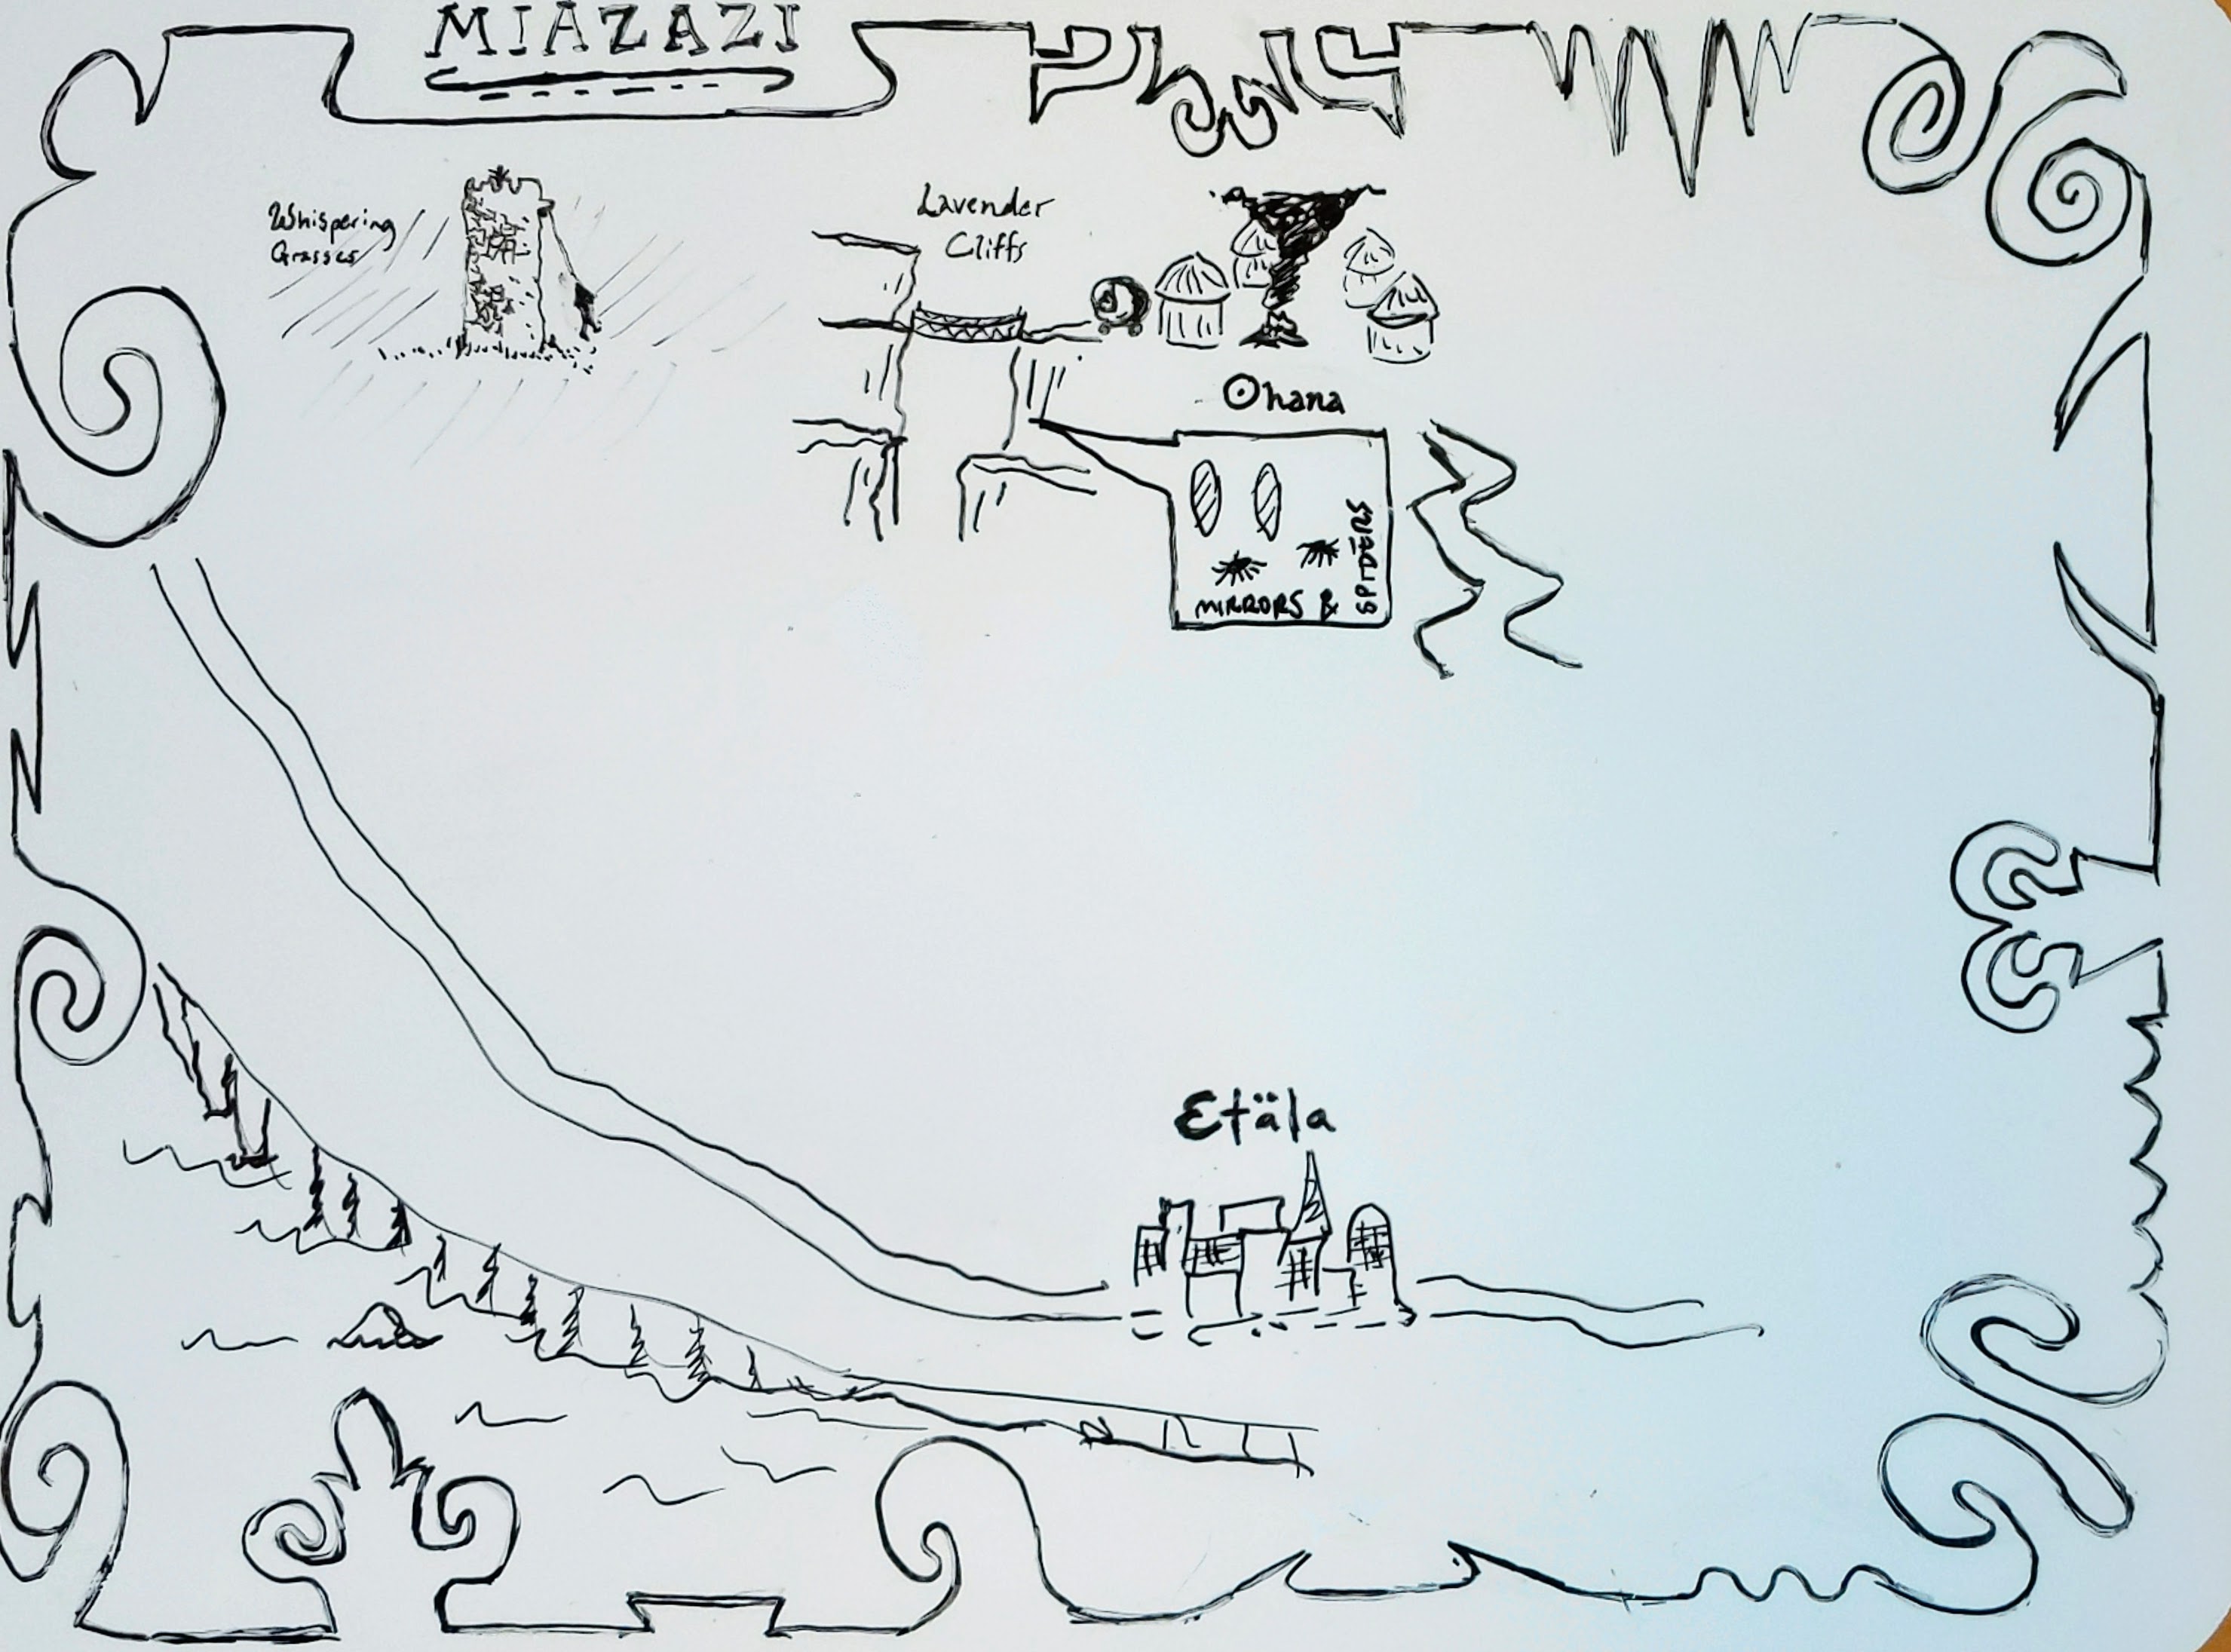
One of my players drew this on a wet erase board during a single session:
The Veil of Ignorance
Before character creation, I like to begin by asking each player to help me shape the setting by naming a single Truth (no more than one or two sentences) about the world we are going to play in. Although this might feel a bit risky, I strongly encourage you try it out!
Consider the following guidelines:
- A Truth should be as specific as possible (e.g. the world is mostly water), and should help define the setting in some fundamental way (sentient sea creatures rule civilization).
- A Truth should not conflict with a something another player has already stated, but players can absolutely build on what someone has already said.
- The GM should help shape the answers by asking follow-up questions.
- Go around the table as many times as you feel necessary! The GM can also participate.
Examples:
- The landscape is littered with ancient, barely understood technology. Those who have learned to control it are the true rulers of the world.
- The world/nation/city/town is shrouded in darkness most of the time. As such, light is a precious commodity, and numerous religions & cults have sprang up trying to explain why the Sun rarely visits anymore.
- Kingdoms are insular and divided by stark cultural and linguistic differences (name a few). Two such nations are currently at the brink of war over a simple misunderstanding.
- There are no Human peoples, though myths of mutated humanoids abound. Some of them are true.
- A council of Mages rules the known world; they hold onto power by creating powerful technology only they control. Recently, it has stopped working properly.
A final note: it is extremely important that character creation come after the Truth-telling. If the players aren’t sure of their character’s status within the setting, it makes for a more interesting game!
Question Time
The GM should be peppering the players with follow-up questions throughout the worldbuilding process, and even (if you’re up for it) during future sessions! Early questions can be as general as you like, as their initial purpose is to draw broad strokes about the world you are going to be playing in. Through the process you’ll start to build on those initial concepts, and flesh the setting out in the process, as long as you keep asking questions. Establishing whether magic exists at all is good, but asking if most people even know that it exists (as a follow-up) is even better. If you’re going to ask questions after character creation, remember to tailor it towards the player characters with relevant backgrounds.
Examples:
- Is there Magic in this world? What does it look like? How common is it?
- Do deities exist? If they do, do Gods walk the land, and do people know about them?
- What technological age is it? Do guns exist? How does magic factor in (if at all)?
- How is news passed around? Are legal systems in place? Who enforces the laws?
- Were there any recent political upheavals or wars? What caused them?
- What resources are missing in the world? Why? How do people cope?
These questions should be tailored to previous Truths, but in general follow the concepts that players seem the most excited about.
The Line
When asking player’s questions, try to keep in mind the GM’s role vs the players. The Line (as described by John Harper) helps illustrate the level of authorship each participant has; essentially the player should only be able to help describe the world through the lens of a character in the setting, while the GM handles everything else. For further reading, I strongly recommend reading Apocalypse World: Crossing the Line.
A Map of The World
The following can happen before or after character creation. First, place a blank sheet of paper (the Map) where everyone can see it. Make sure everyone has something to write with, or assign one person to be the mapmaker, and another as note-taker (optional). As you proceed, remember to name everything you write down. See The Names of Things below. Finally, follow these steps:
- Create a rough outline of the known world. It could define the border between civilization and the wilds, a zoomed-in map of one locale or territory, or even a wavy circle that encompasses the entire page.
- Taking turns, each player should then draw or describe one of the following: a region or a point of interest. You may need to move around the table more than once!
- A region might be defined by political control (a kingdom or dominion) or by its terrain (the seashore, a mountain range, a desert, etc). The regions don’t have to be next to each other.
- A point of interest represents a locale that the player characters may want to visit (or have already visited): an ancient ruin, the lair of an ancient creature, or a township infamous for the unusual merchants that pass through it. Ask the players to say what makes that place special or interesting, and draw icons or small images to represent their answers: crumbling buildings, massive towers, fantastic creatures, etc. Remember to name things as you go!
- Taking Turns, draw connectors such as dirt roads, busy highways, rivers, etc.
- Choose a starting location on the Map; this is where the action will begin for the characters. If necessary, you can trace a path from where they’ve been before, as well.
Remember that you should be asking questions during this entire process. Why does the Imperial Highway, which heads East from the Crescent City, splinter into so many smaller roads just after it splits the Great Pass? What about the one leading to that unusual tower, standing alone in the Whispering Grasses? What rumors or legends have the people living nearby heard?
When naming things, remember that an important place will often have more than one name. In The Hobbit, Erebor was the name of the former Dwarven kingdom north of Lake-town, but most knew it as the Lonely Mountain instead. If the party must travel deep into the woods of Schwarzwald to speak with the last surviving member of a now-deceased species, consider giving it a name the locals might call it as well: The Woods of Forgetting.
If you are building the Map after character creation, try asking questions based on the character backgrounds you’ve already established. A well-traveled ranger (or soldier, whatever) will probably know more about the far-reaches of the known world than a city thief. Perhaps the most learned character could provide a bit of background behind the unfortunate naming of a felled pillar near the starting location, as well as what makes it special.
In general, it also helps to play on available tropes, but always leave space for subverting and enhancing expectations. But more importantly, remember to leave gaps on the map. One of my favorite GM lessons from Dungeon World is the phrase Draw Maps, Leave Blanks. Personally, I find that a partially-drawn map helps open up possibilities I might not have considered otherwise.
The Hex or Index Card Method
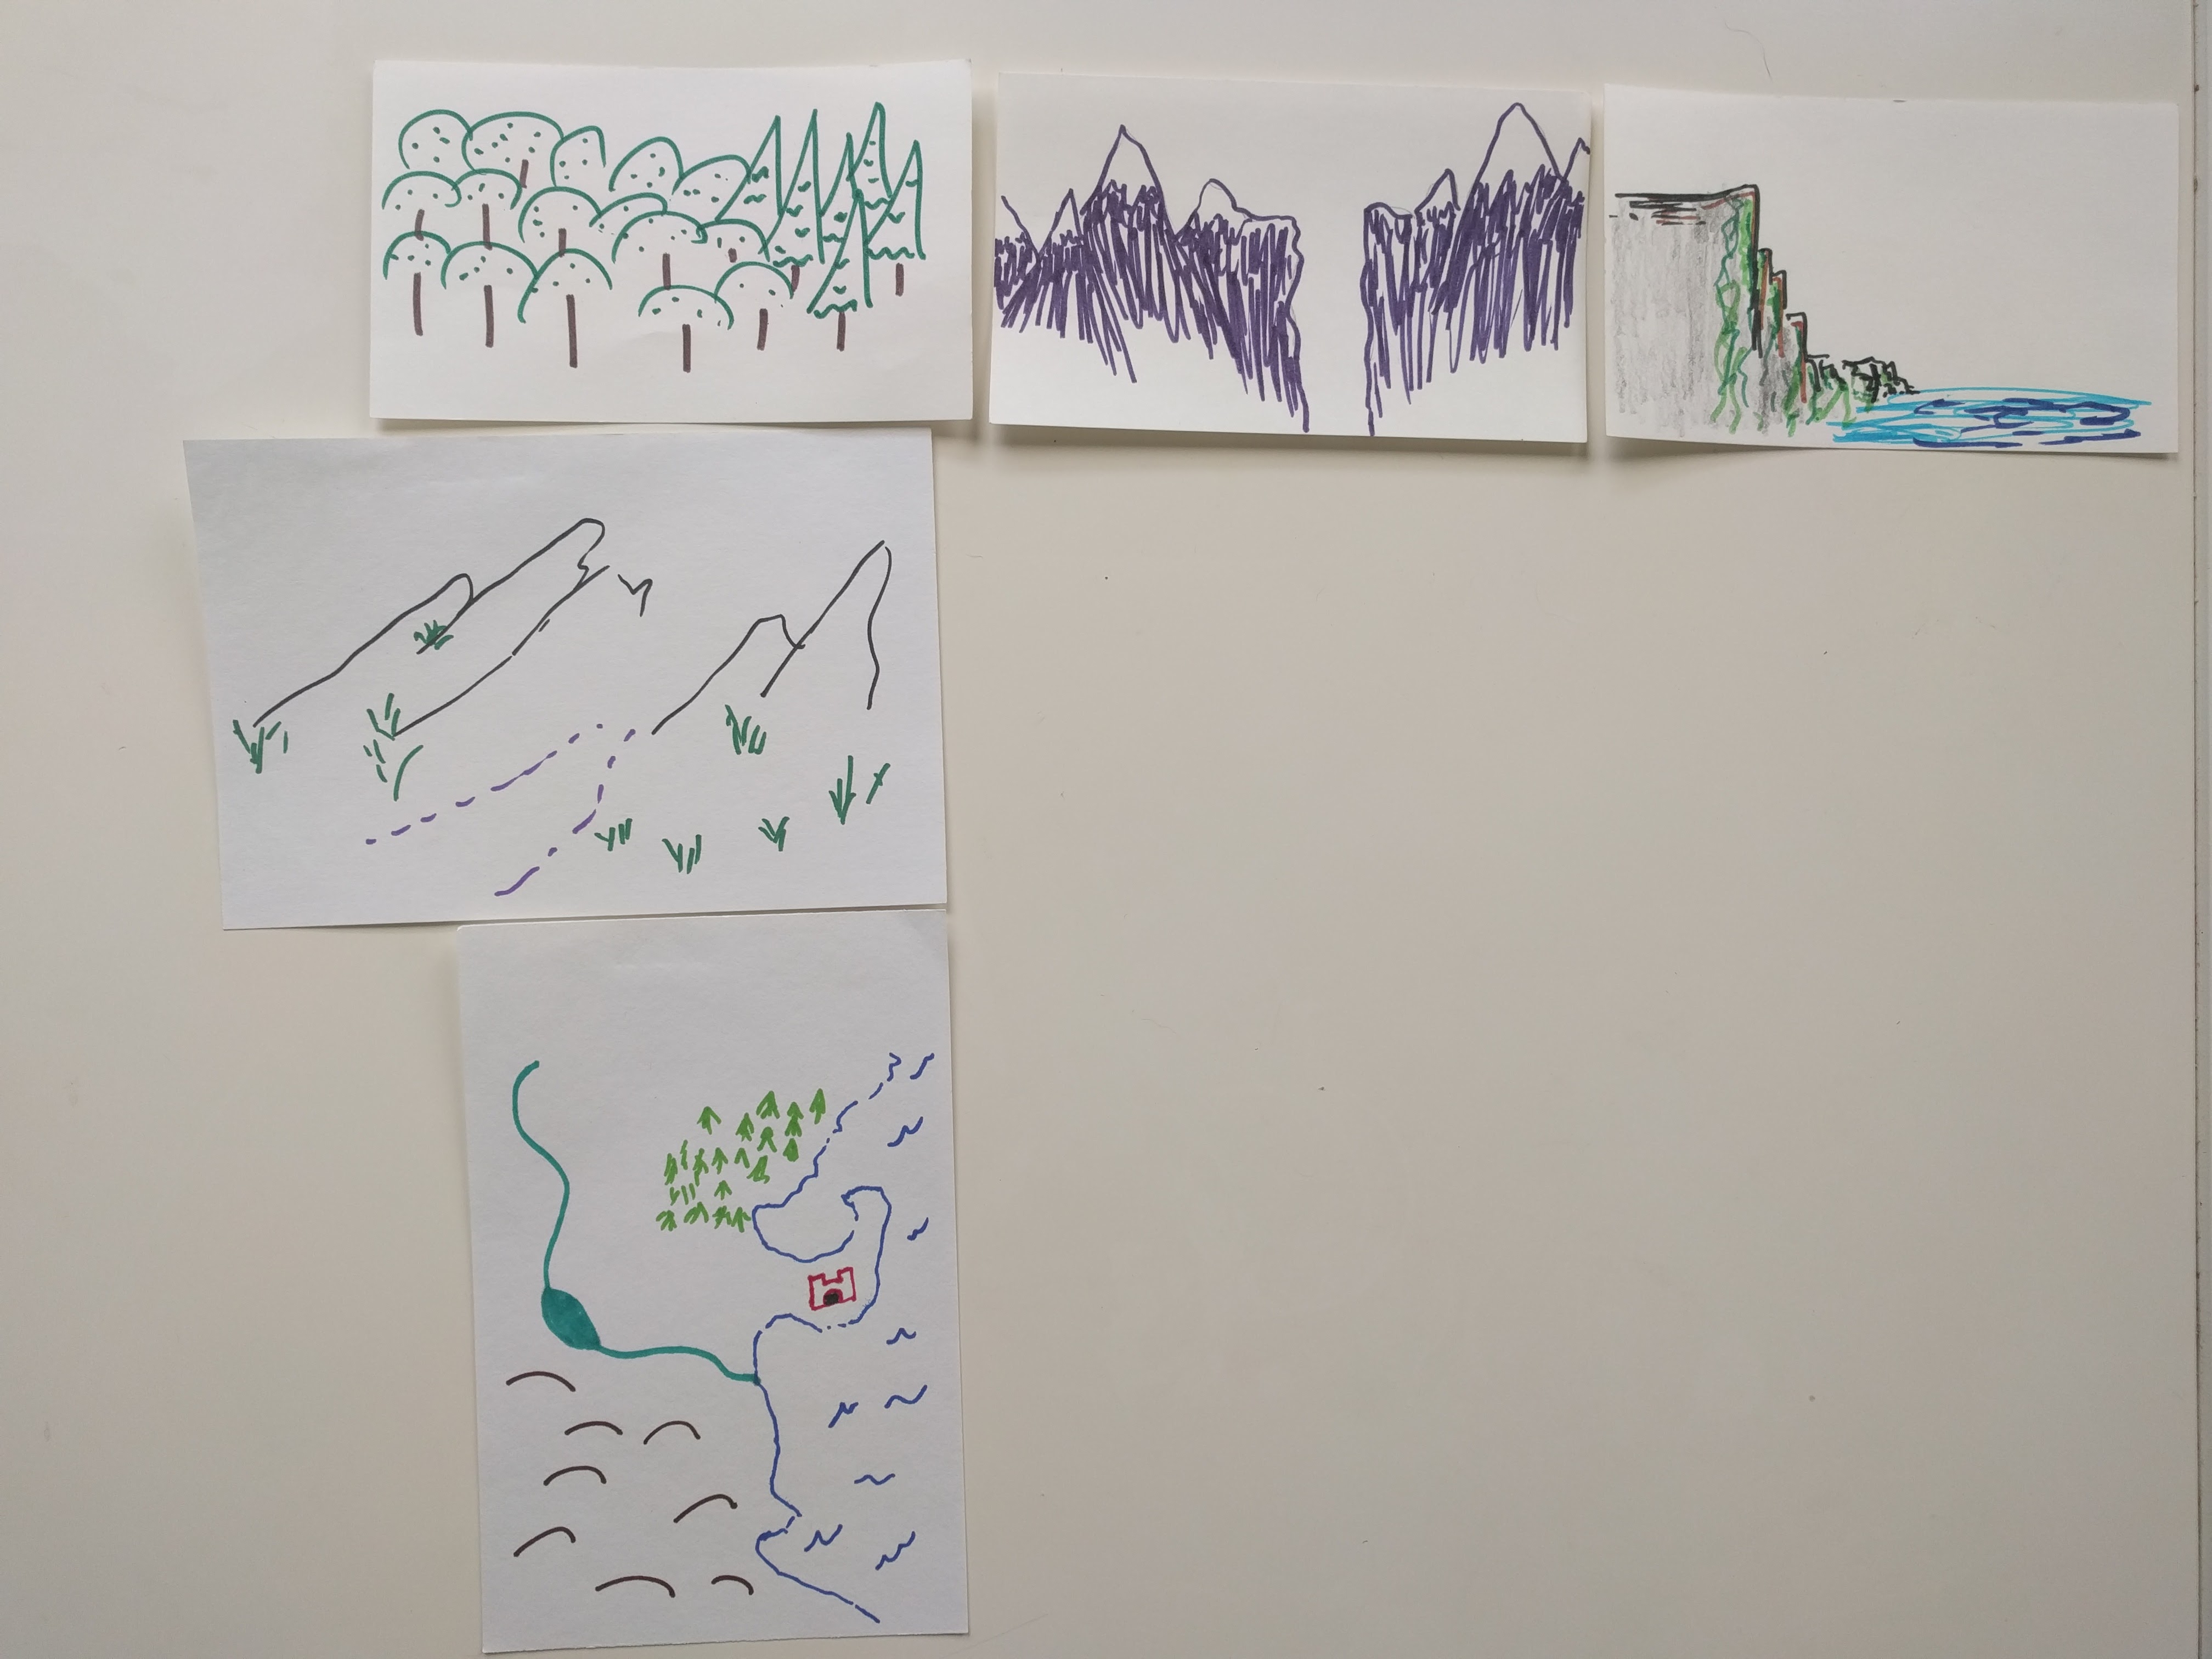
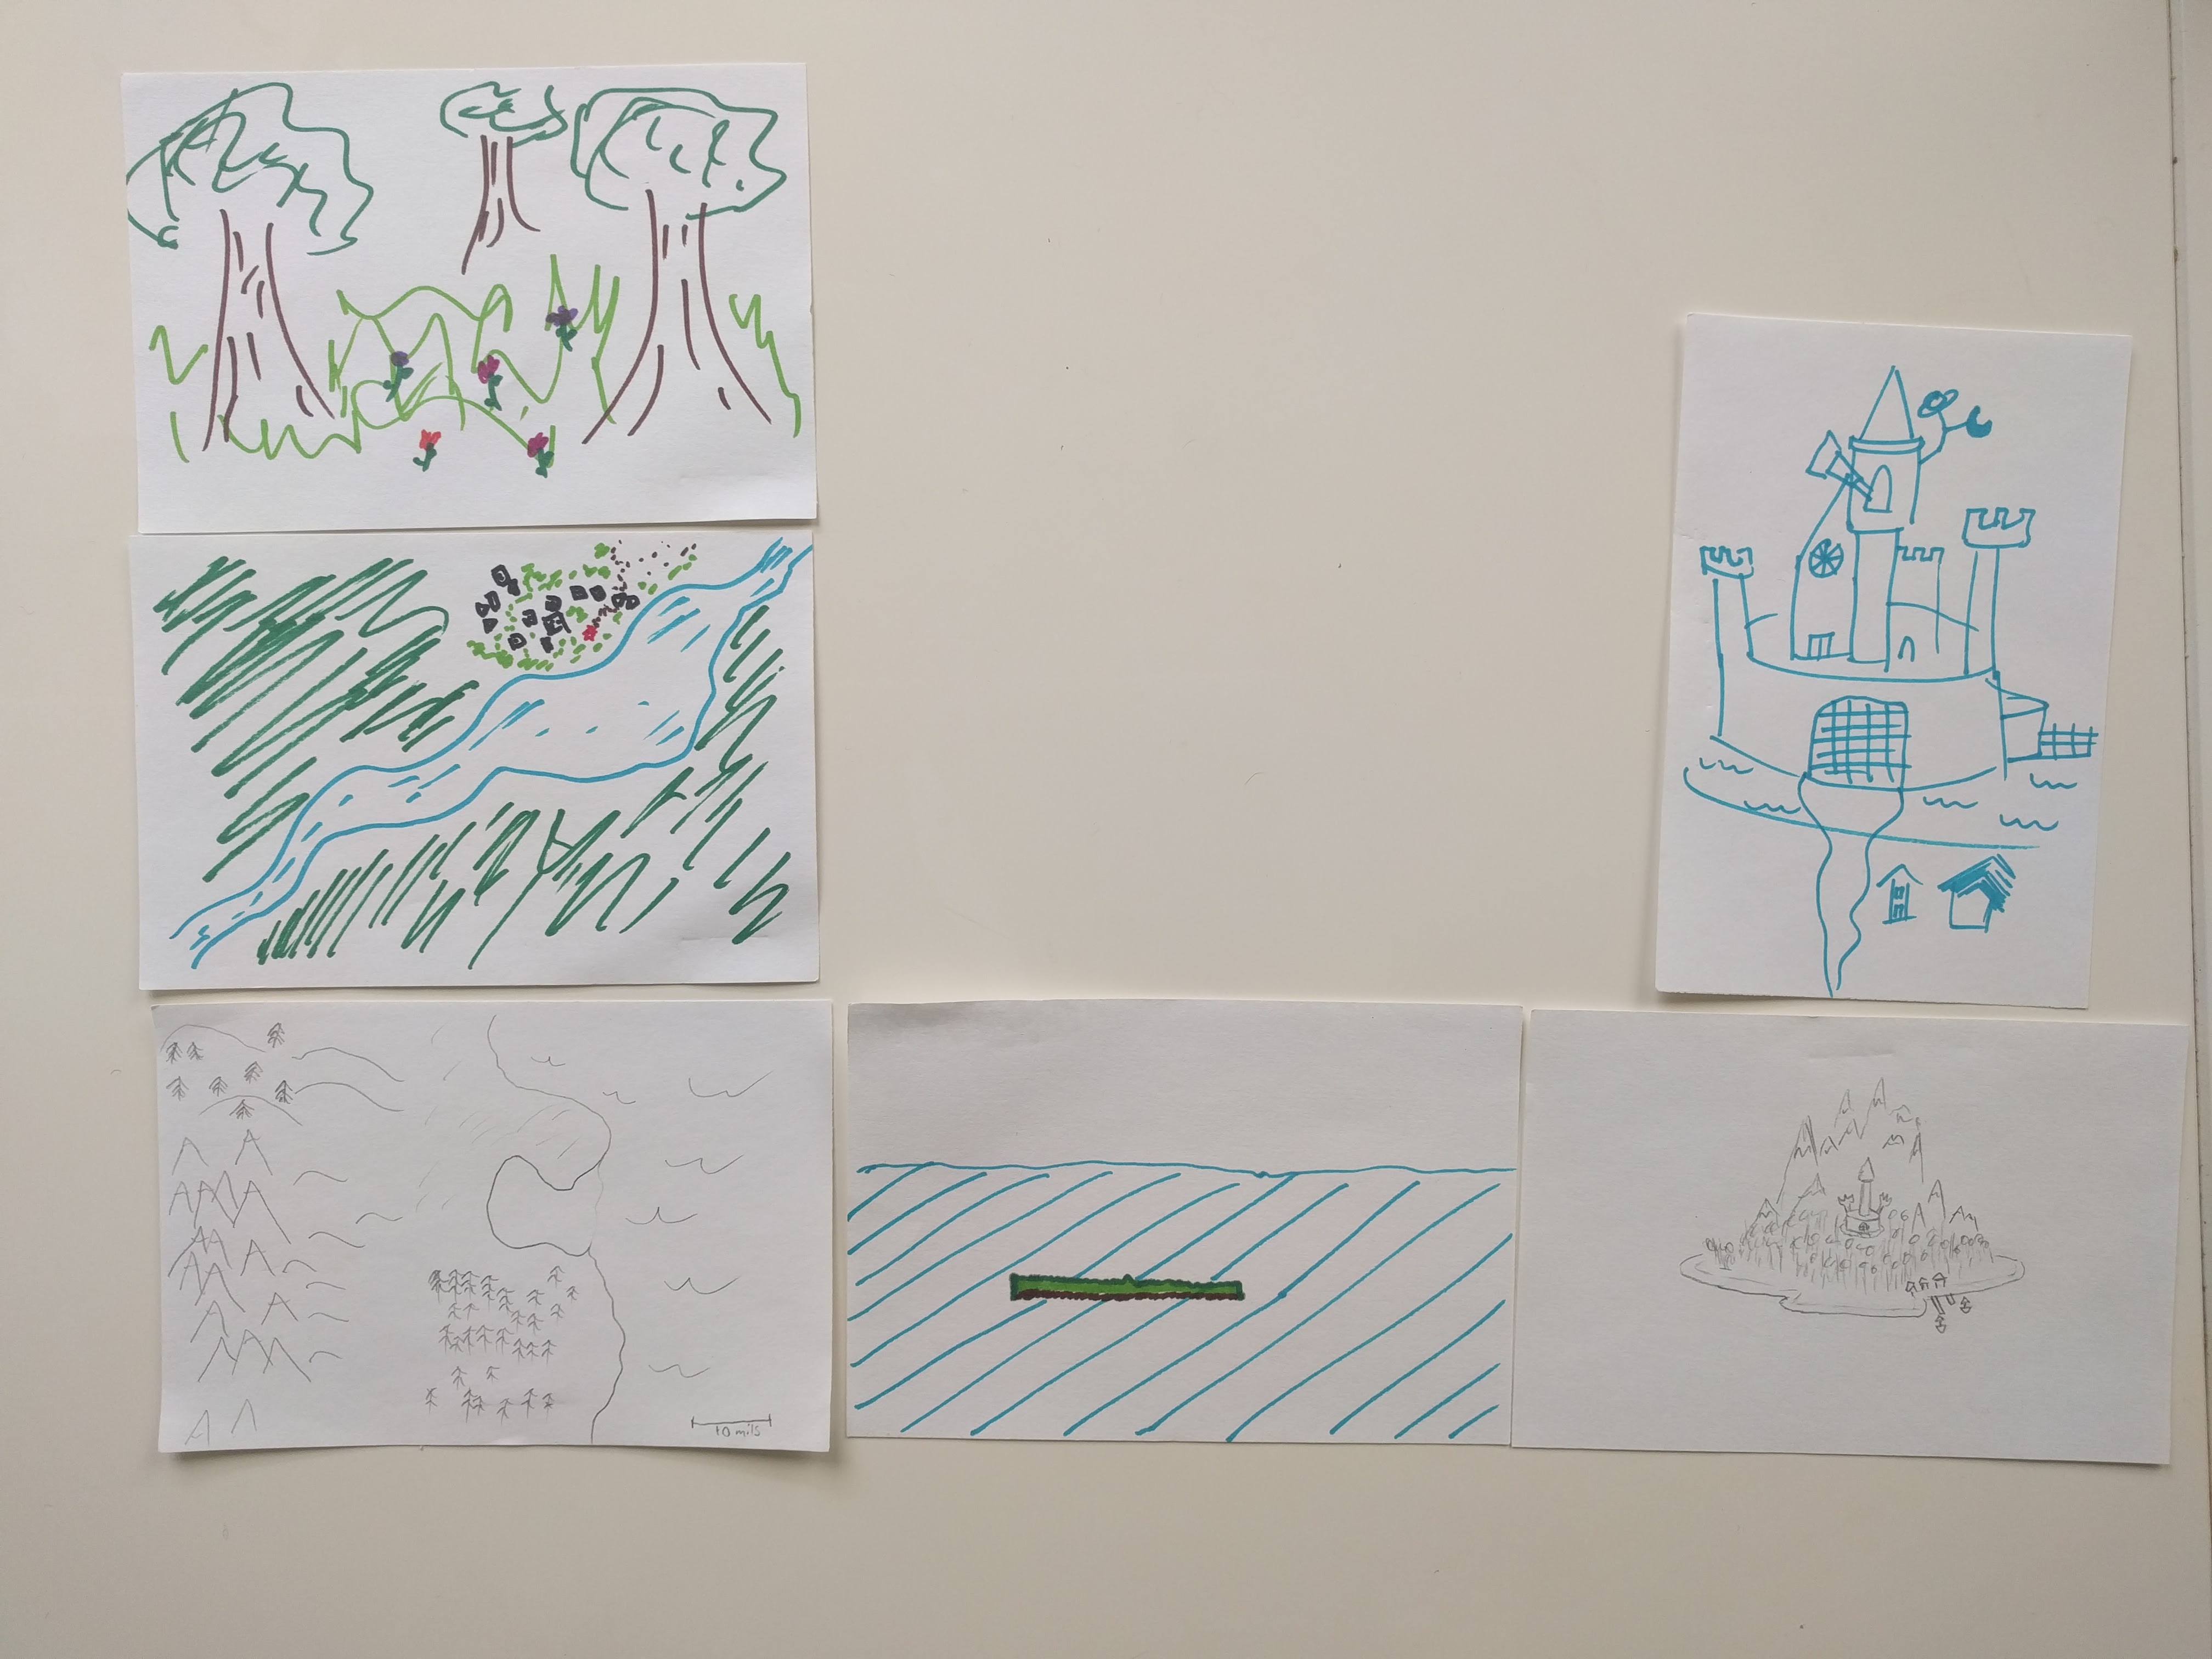
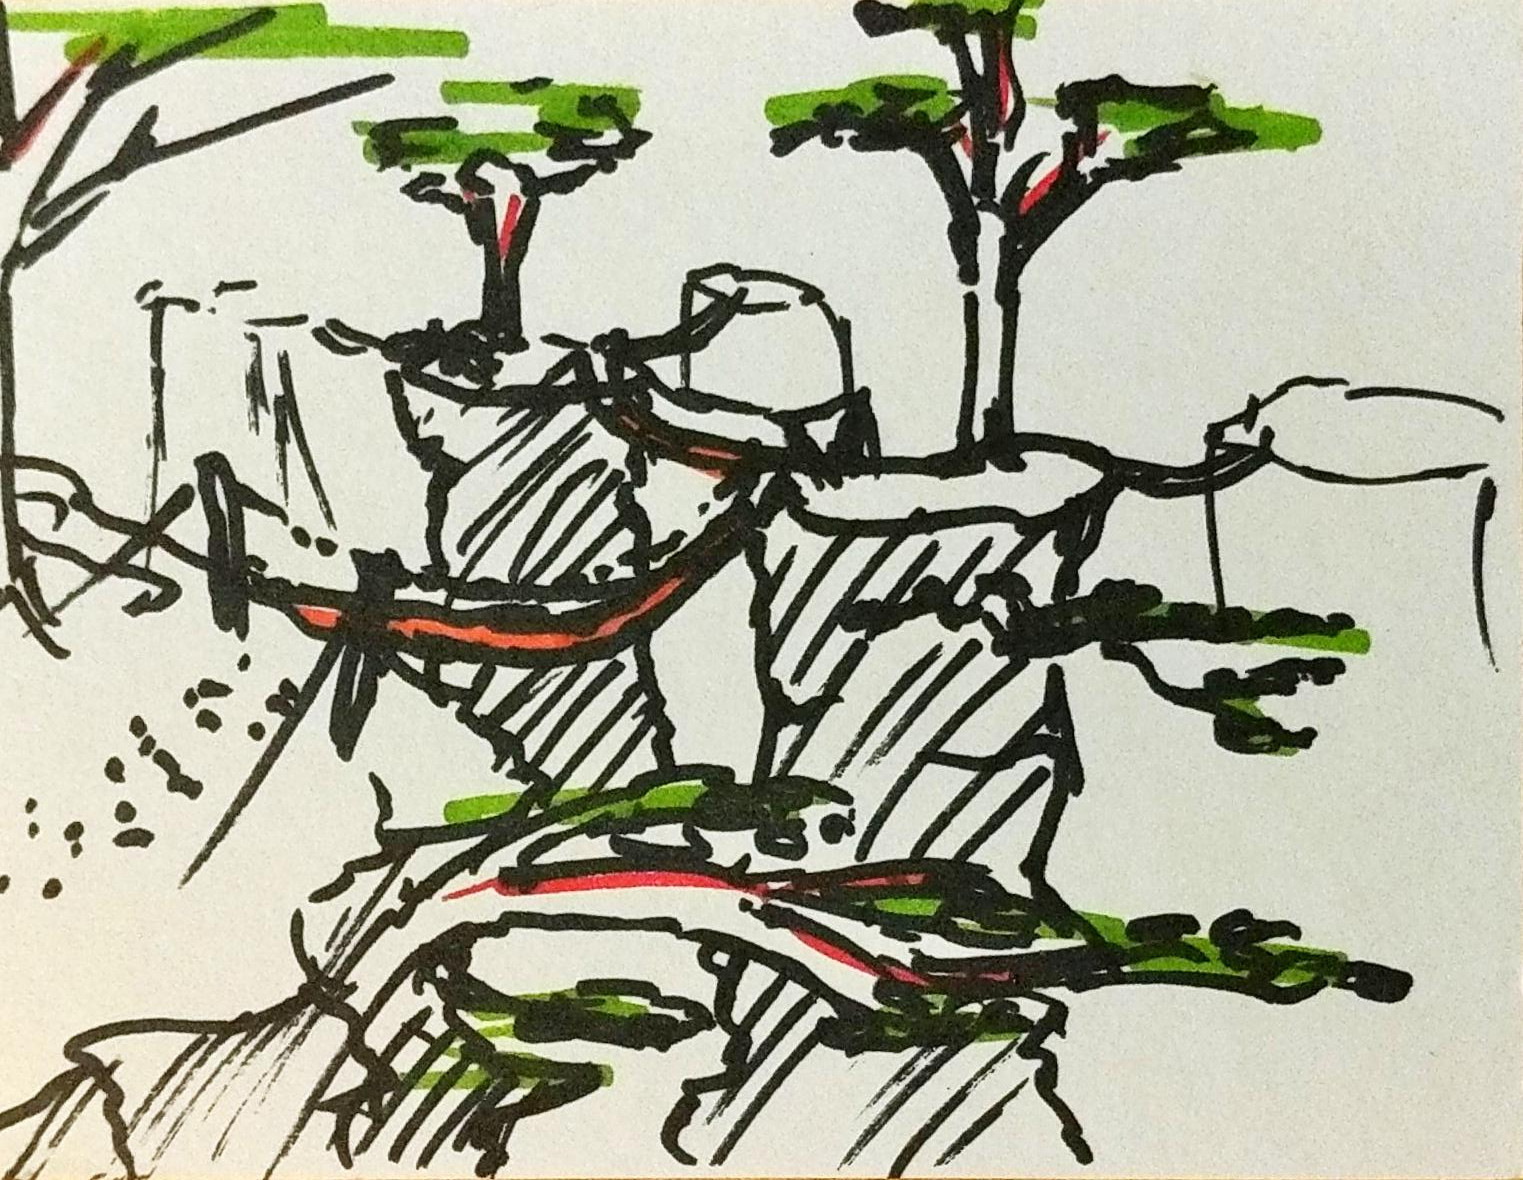
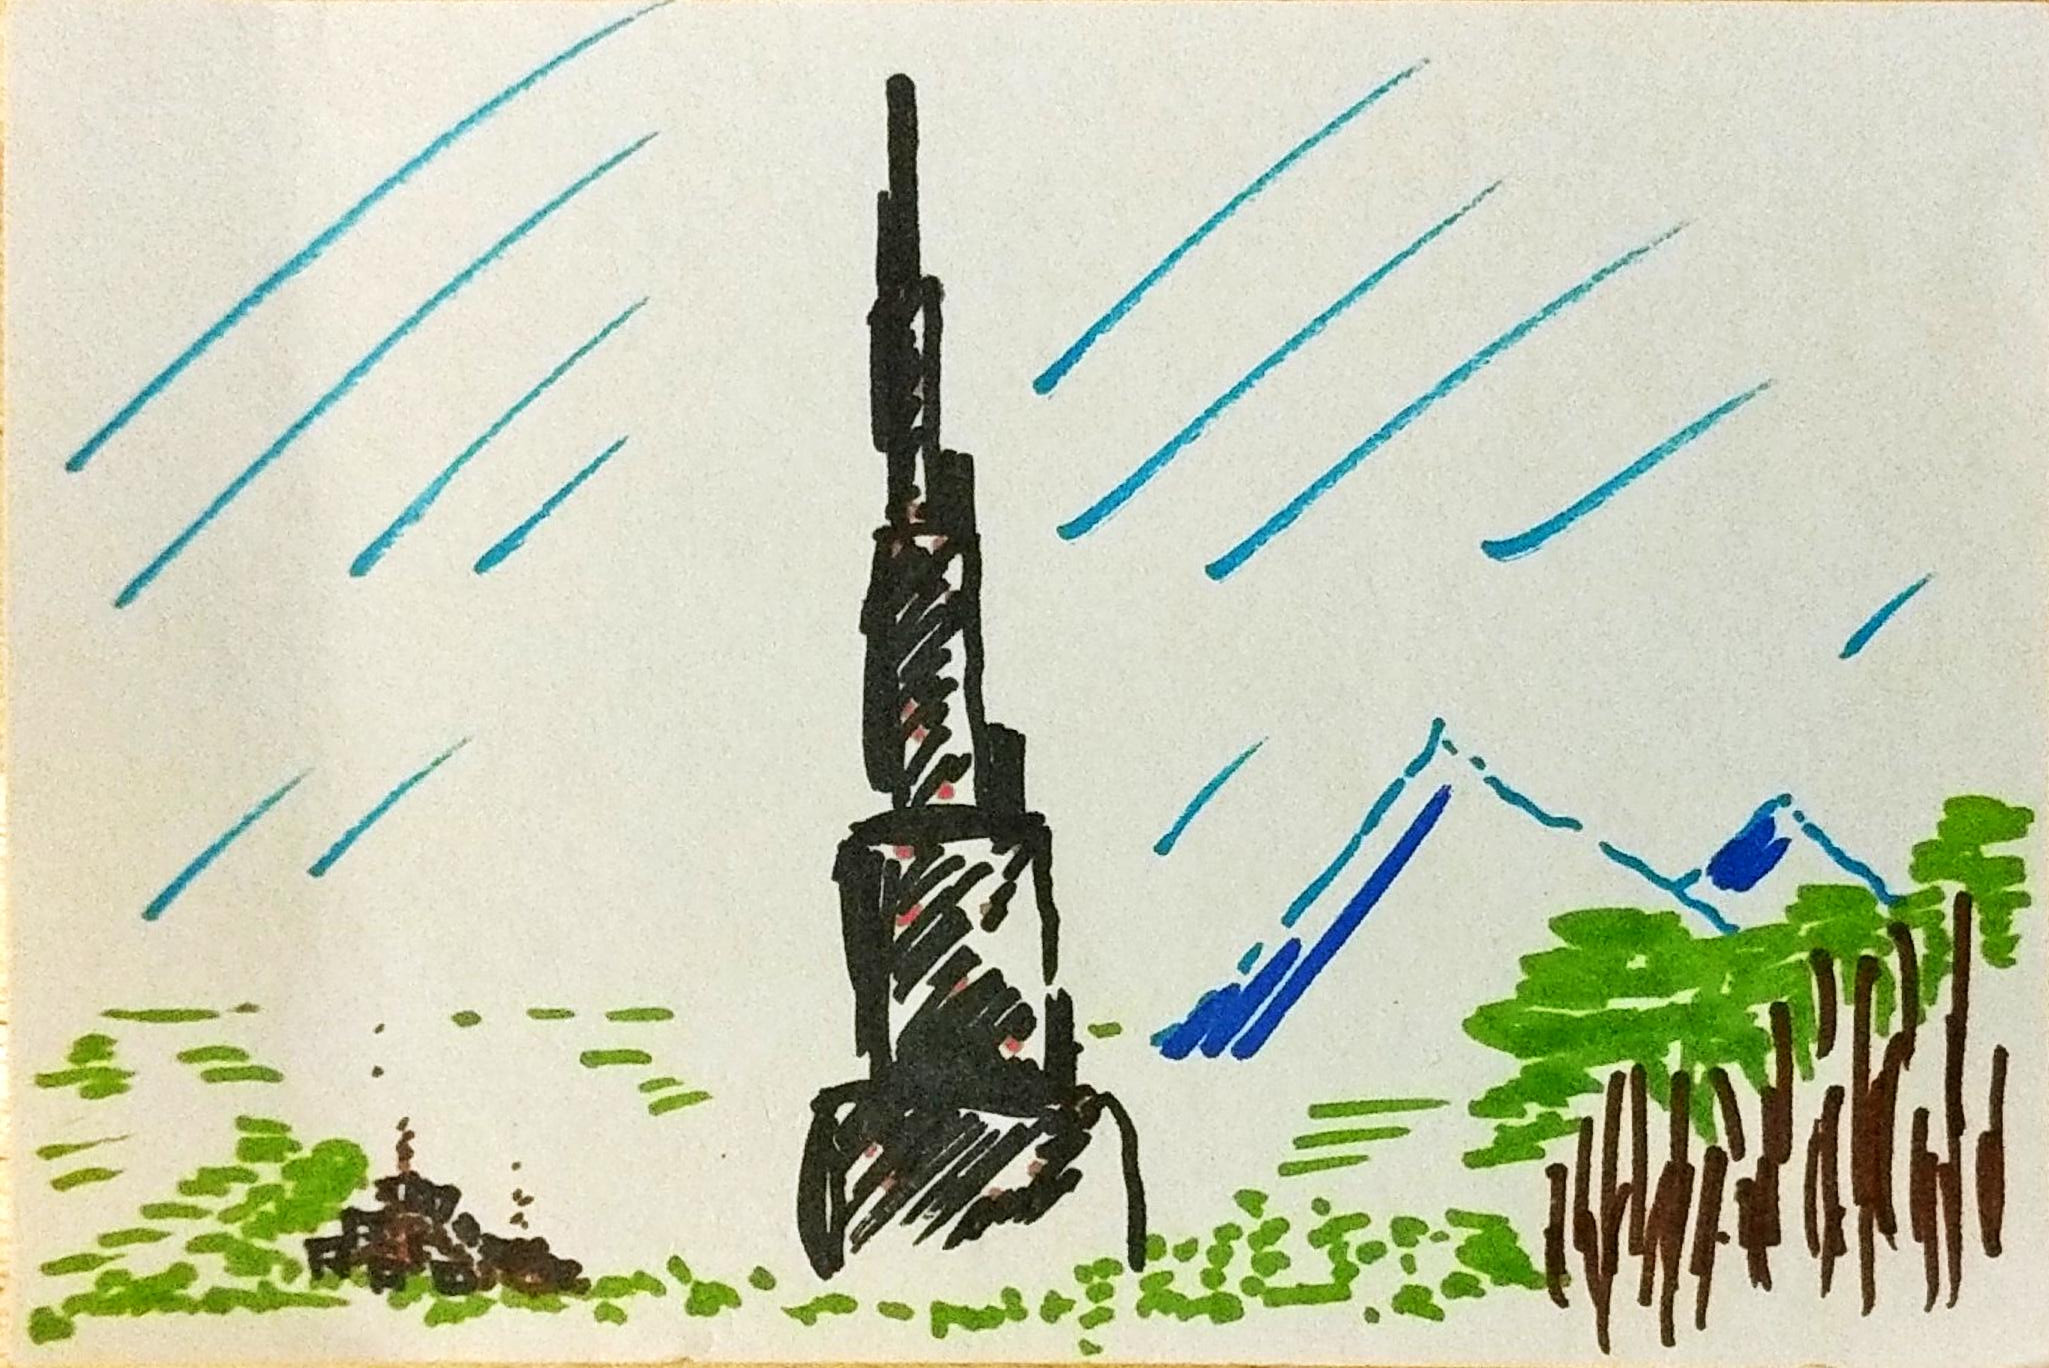
As an alternative to “static” mapmaking method described above, I also heartily endorse creating regions and points of interest using index or hex cards. Below are a few example maps drawn by my players:
Here's what I like about this method:
Art
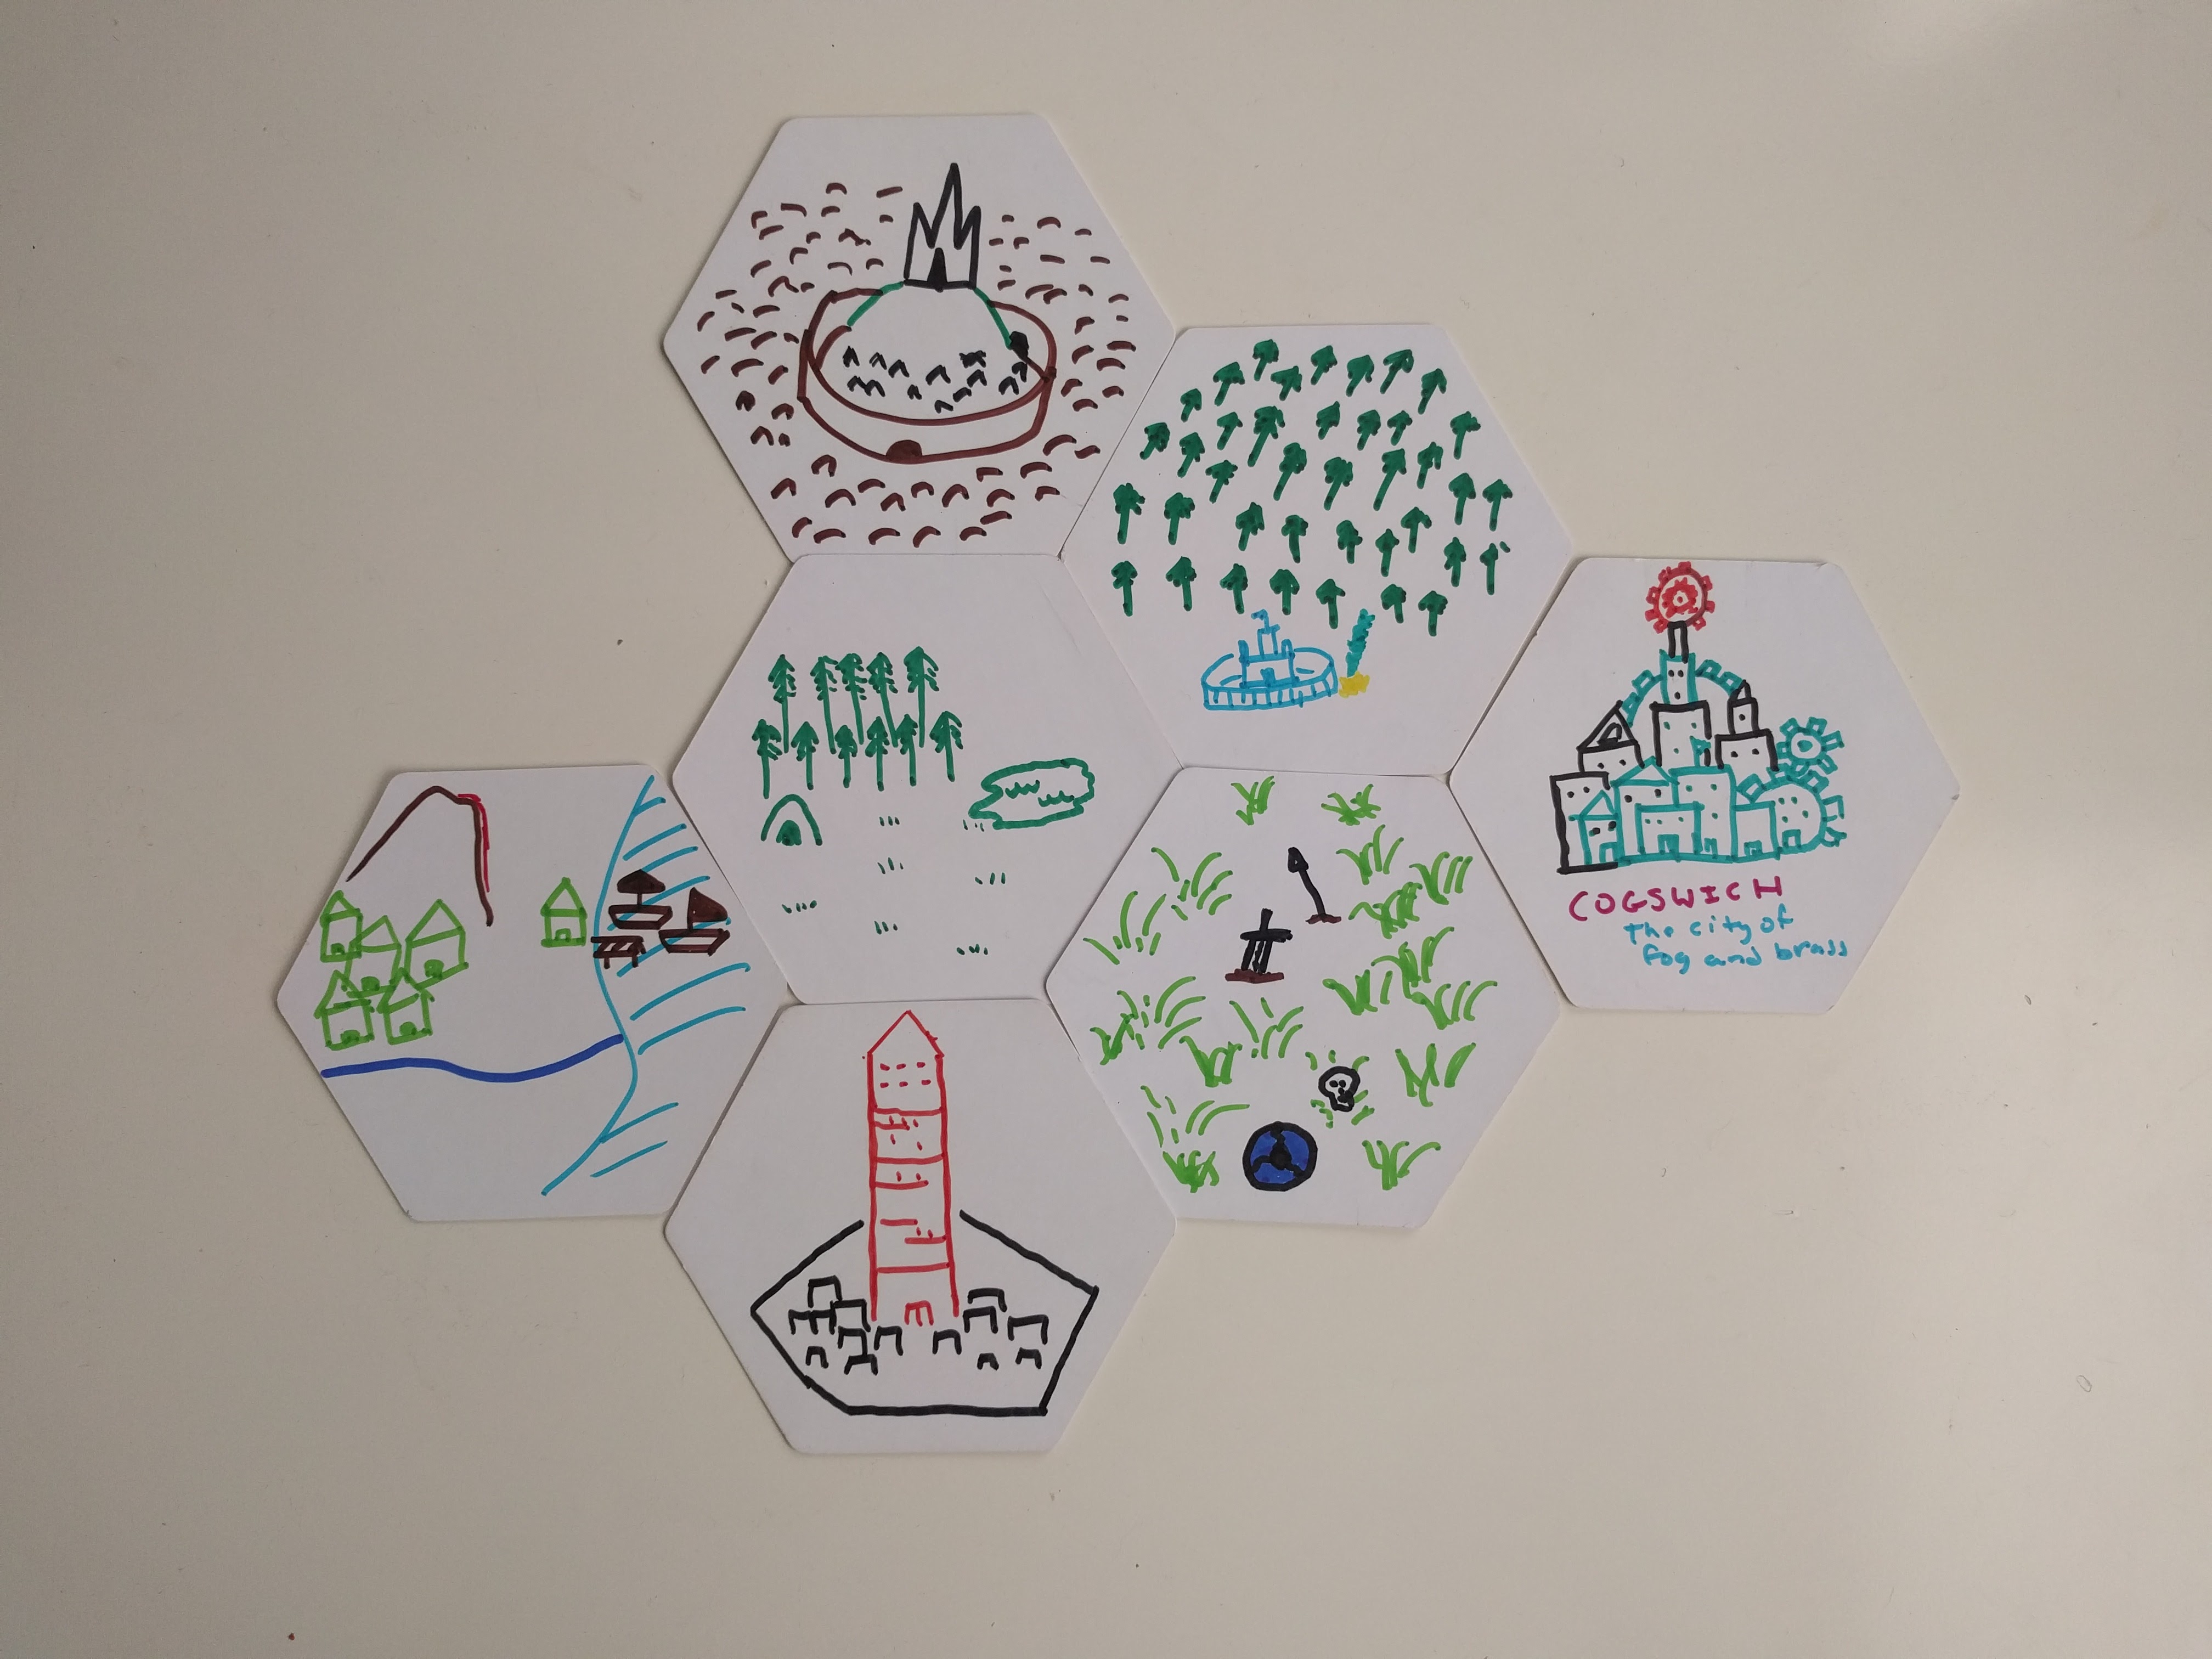
Players get to draw, and some of the art they produce is fantastic. Check it out:
Flexibility
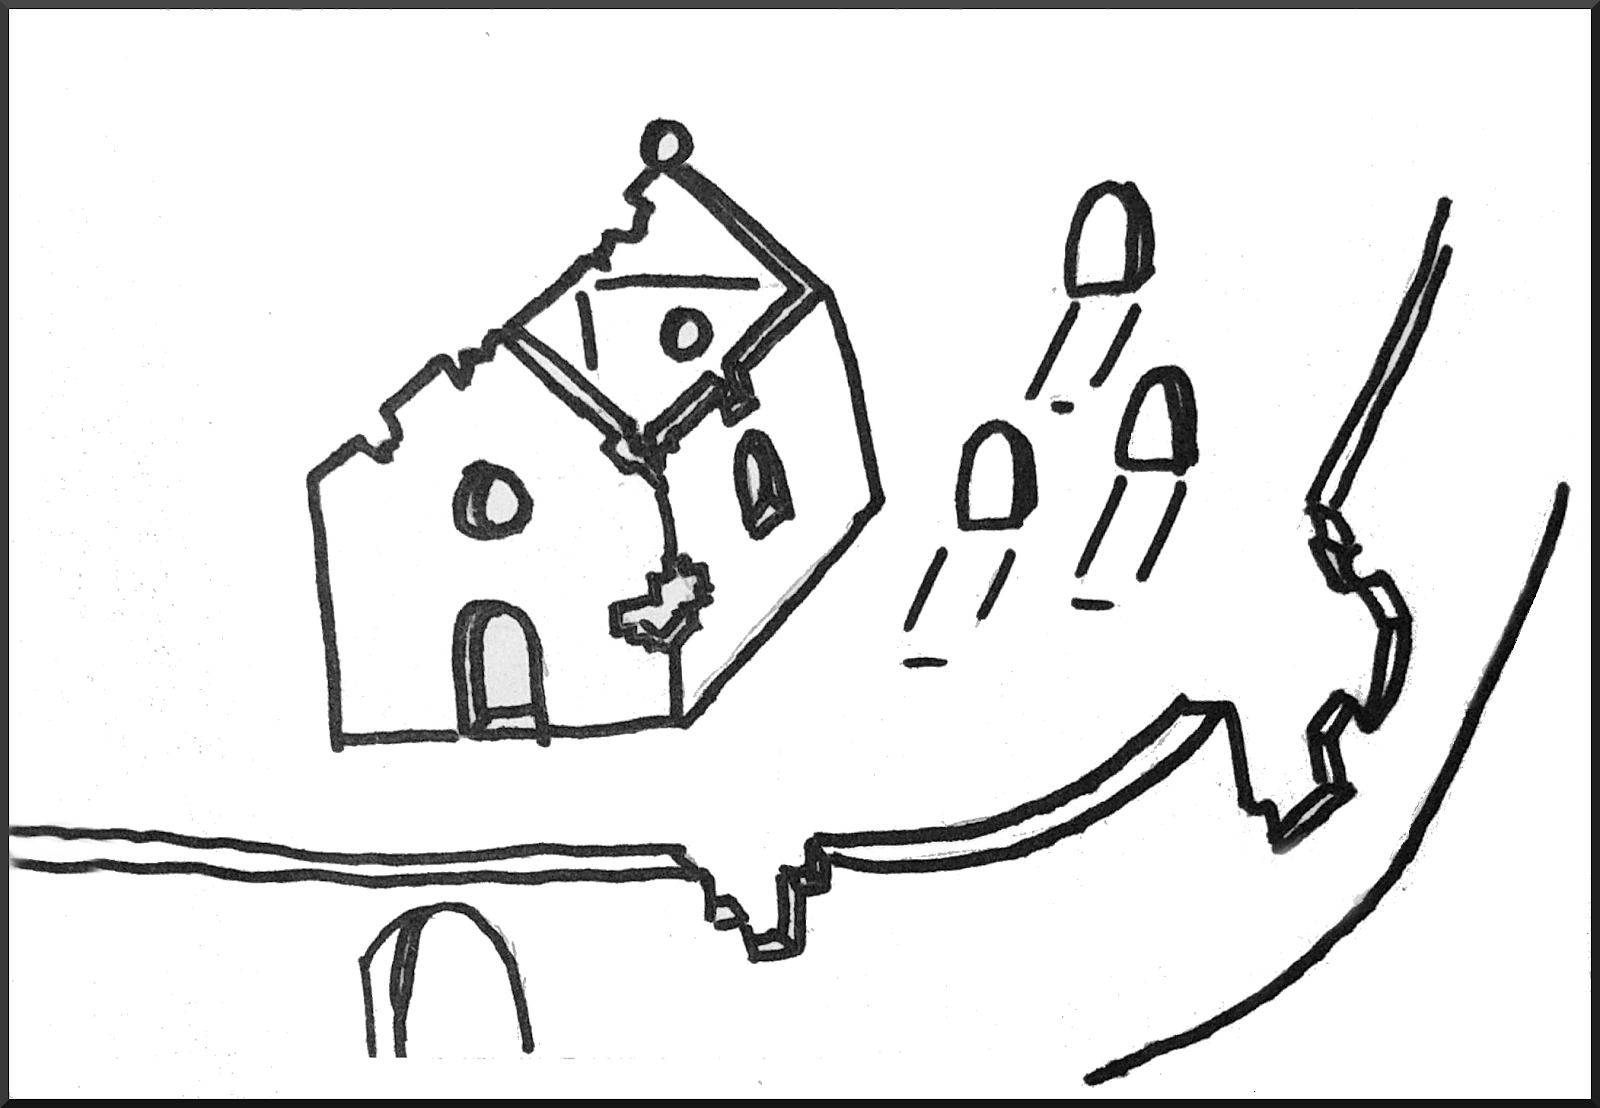
The cards can be arranged in any order, and new cards can be added as the game progresses. For instance, if the party is traveling between two distinct points (each represented by an index card) and something interesting happens (a sudden slide into a hidden tunnel, sailing on a flying ship, etc) a new index card can be drawn and inserted between the two original cards.
Replayability
After running 100+ one shots over a two-year period, I had amassed quite an array of index/hex card maps. I can now pull out a stack of random index cards and let the players choose what they find the most interesting. Conversely, I can pull from a random stack for inspiration during the session.
Here’s how to do it:
- Prepare your stack of index cards and permanent markers. Hand 1 or 2 to each player, then ask each to draw an image. It could be something fantastical (a floating city, a dragon’s den) or mundane (gorges, mountain peaks, lakes), or represent a feature you might see on a fantasy map (ancient ruins, temples, a city on a hill).
- Choose two or three of the index cards and lay them down in the middle of the table; leave a little bit of space between. Pick one that you feel is appropriate (an image of a dark forest, the city docks, a mountain cave) and mentally designate it as the starting point of the adventure. Use it to help set the scene: a collapsed crypt, or floating city, careening through the sky.
- Finally, you can begin the adventure, building out the map as the players move through the world. If the party needs to cross a treacherous territory on the way to defeat a great evil, place the index card image that best illustrates that danger. It might be a rickety bridge between two mountain peaks, or a dark forest, brimming with creatures of dark intent. But remember, you can always move the existing index cards apart and insert a brand new one between. And don’t feel limited by what you’ve got on hand! You can always draw new locations as the story progresses.
The Names of Things
An oft-forgotten (but still impressive) skill a GM must have is in the creation of words, languages, and especially Names within a fictional universe. And for good reason: it’s hard to do well; almost as difficult as putting on a voice or accent (and perhaps with the same political pitfalls). That said, I think it’s important enough to learn to do well. A lot of naming has to do with how language is used in your setting, which for non-polyglots can be a bit scary! Below I’ve outlined a few methods that I’ve picked up over the years.
Using your primary language as a base
If you go with your own language, lean in to the strange and fantastic when you can. For every Royal Highway and Land’s End, there should also be a Bridge of Two Suns or The Weeping Forest. Invite the players to suggest names based on what you already know about the fictional world you’re creating, as well. If you happen to speak multiple languages, a quick way to create interesting, but still memorable names is to think about the person, place or concept in another language, and use the word that arises as a base. For instance, if I described an important NPC as being continually angry, I might think of the Hebrew word כועס (pronounced “Ko-es”). I could then introduce them as Ko-es of the Twisting Isles, and the name will serve as a bit of a reminder of their personality. It doesn’t have a ton of meaning to my players, though - so use I try to use this method sparingly.
Using a foreign language as your base
If you decide pick another language as a base, don’t limit yourself to the familiar; take a look at the bounty of interesting African, Polynesian, and Asian languages out there! I also highly recommend the Story Games Name Project by Jason Morningstar as a resource to have at the table, as it is organized by language groups with useful tables. After the fact, you can still go to your favorite online generator or translation service and play around with different options until they feel like a good fit. You should let the players know that you’d like the names of the world to be rooted in a particular language, and ask for their help.
Using a language that you’ve made up
Creating words in a made-up language is hard, and not something I’m overly familiar with. My advice is to be consistent if you can! It also helps to think of the old form of a particular word, and what it might look like today. In Sindarin (the language of Elves created by J.R.R. Tolkien) the word for Elf is elda, which originates from the word elen, meaning star. Literally, “one of the Star folk.” Pretty cool.
Conclusion
Collaboratively creating a brand-new setting from scratch is one of my favorite aspects of tabletop roleplaying games. I hope that this guide helps you build fun, original settings with your group. Please let me know if you try out any of these methods, and send me pictures of your creations!
